Pitching a tent looks intimidating the first time you tip the bag out and see a pile of fabric, poles and small metal stakes. It gets much easier once you know the order. Most modern dome tents follow the same basic pattern, and after two or three practice runs you will be able to put one up in ten or fifteen minutes.
These steps describe a typical freestanding dome tent with two crossing poles, which is what most rental shops and beginners use. Always check the instructions that come with your own tent; some designs differ.
Practice at home first
The single most useful thing you can do is pitch the tent at home before the trip. A yard, a park or even a living room floor will do; freestanding tents stand up without stakes. Practicing at home lets you confirm every part is there, learn which pole goes where, and discover any damage while you still have time to fix or replace it. Take a phone photo of the tent fully set up: it becomes your reference at camp.
Choosing the spot
- Use the tent pad if the site has one. It is designed to drain and to be flat.
- Look for flat, slightly raised ground. Avoid dips where rain would collect.
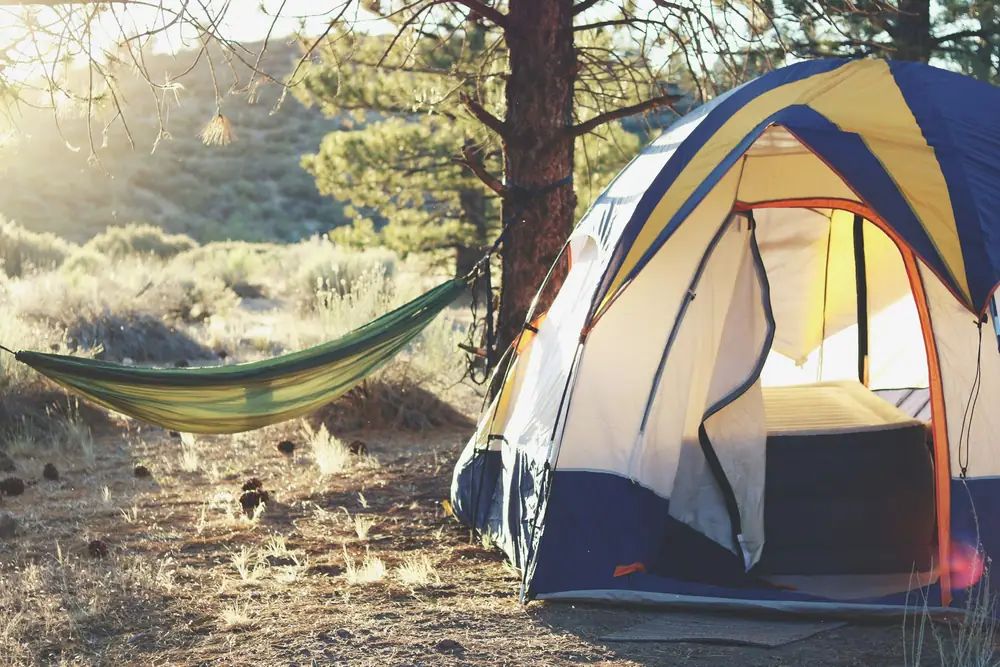
- Clear the surface. Remove pine cones, sticks and small stones by hand. Anything you leave, you will feel through the floor.
- Look up. Avoid pitching directly under dead branches.
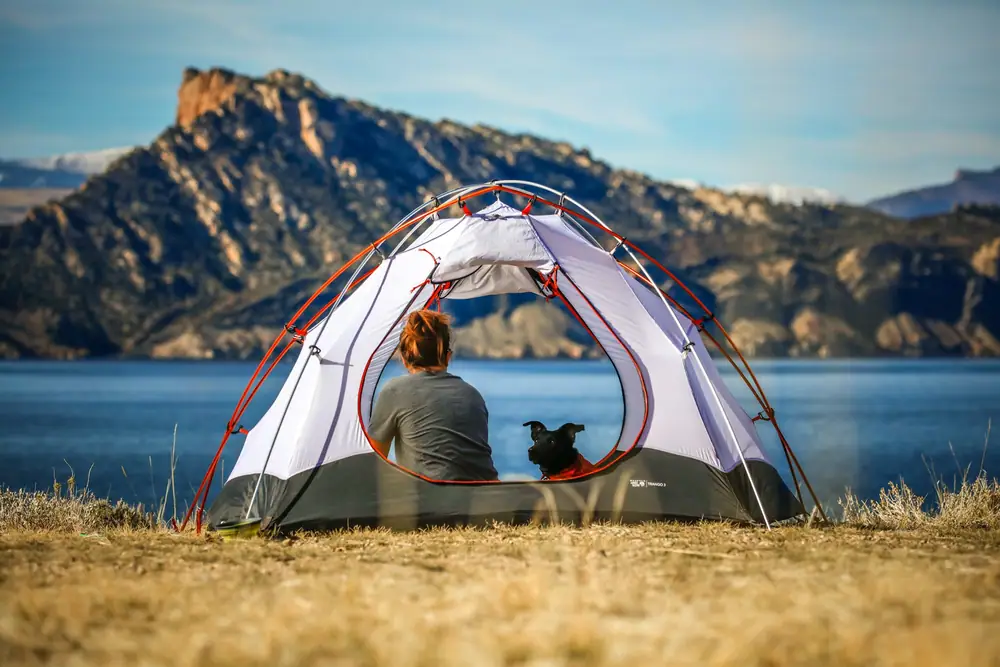
- Think about the door. Face it away from the wind and toward your picnic table or the view.
Lie down on the spot for a moment before you commit. If you slide or feel a lump, move.
Step by step
- Lay out the footprint or groundsheet. It should be slightly smaller than the tent floor, with no edges poking out, or it will catch rain and channel it underneath you.
- Spread the tent body on top, floor side down, with the door where you want it.
- Assemble the poles. Shock-corded poles snap together; let each section click fully into the next rather than flinging them.
- Attach the poles to the tent. Most tents use clips, sleeves, or both. Poles usually cross in an X over the center. Color-coded corners and webbing help match pole ends to the right corners.
- Raise the tent by seating each pole end into the grommet or pin at the corners. The tent will bend upward into shape. Clip the remaining clips.
- Stake the corners. Push stakes in at about a 45-degree angle, leaning away from the tent. Use your foot or a mallet, not your hand, on hard ground.
- Add the rainfly. Find the door of the fly and line it up with the tent door. Attach the fly corners to the tent corners, usually with buckles or hooks, and fasten any hook-and-loop tabs to the poles underneath.
- Stake the vestibule and guylines. Pull the fly out so it does not touch the inner tent. Guylines anchor the tent in wind and keep the fly taut so condensation runs off rather than soaking through.
- Tension and tidy. Walk around the tent and adjust the straps so the fly is smooth. Open the vents.
Rain while pitching?
Some tents let you pitch the fly first and clip the inner underneath. If yours does not, work quickly: get the footprint and tent body out, poles in, and the fly on as soon as possible. Keep sleeping bags in the car until the tent is fully covered.
Common first-time mistakes
| Mistake | What happens | Fix |
|---|---|---|
| Groundsheet sticks out past the floor | Rain pools under the tent | Fold the edges under |
| Fly touching the inner tent | Moisture wicks through; wet walls | Tension the fly and guylines |
| Stakes pushed straight down | They pull out in wind | Angle them away from the tent |
| Fly rotated wrong way | Fly door does not line up with tent door | Match the doors before clipping |
| Skipping guylines on a calm evening | The wind picks up at 2 a.m. | Always stake them out |
If it feels like you are forcing something, stop. Tents are designed to go together without a fight.
Taking it down
Reverse the order: guylines, fly, stakes, poles, body. Shake the tent out and brush off leaves. If the tent is wet, pack it loosely and set it up to dry fully as soon as you get home, even if that is just draped over chairs. A tent stored damp can develop mildew and a lasting smell within days.
Fold poles from the center out, which puts less strain on the shock cord. Count your stakes back into the bag. And do not worry about fitting the tent into its original stuff sack perfectly; most people roll it loosely around the pole bag and call it done.
Print-friendly checklists
Turn this into action with our six beginner checklists, each with a print button.